- Get link
- X
- Other Apps

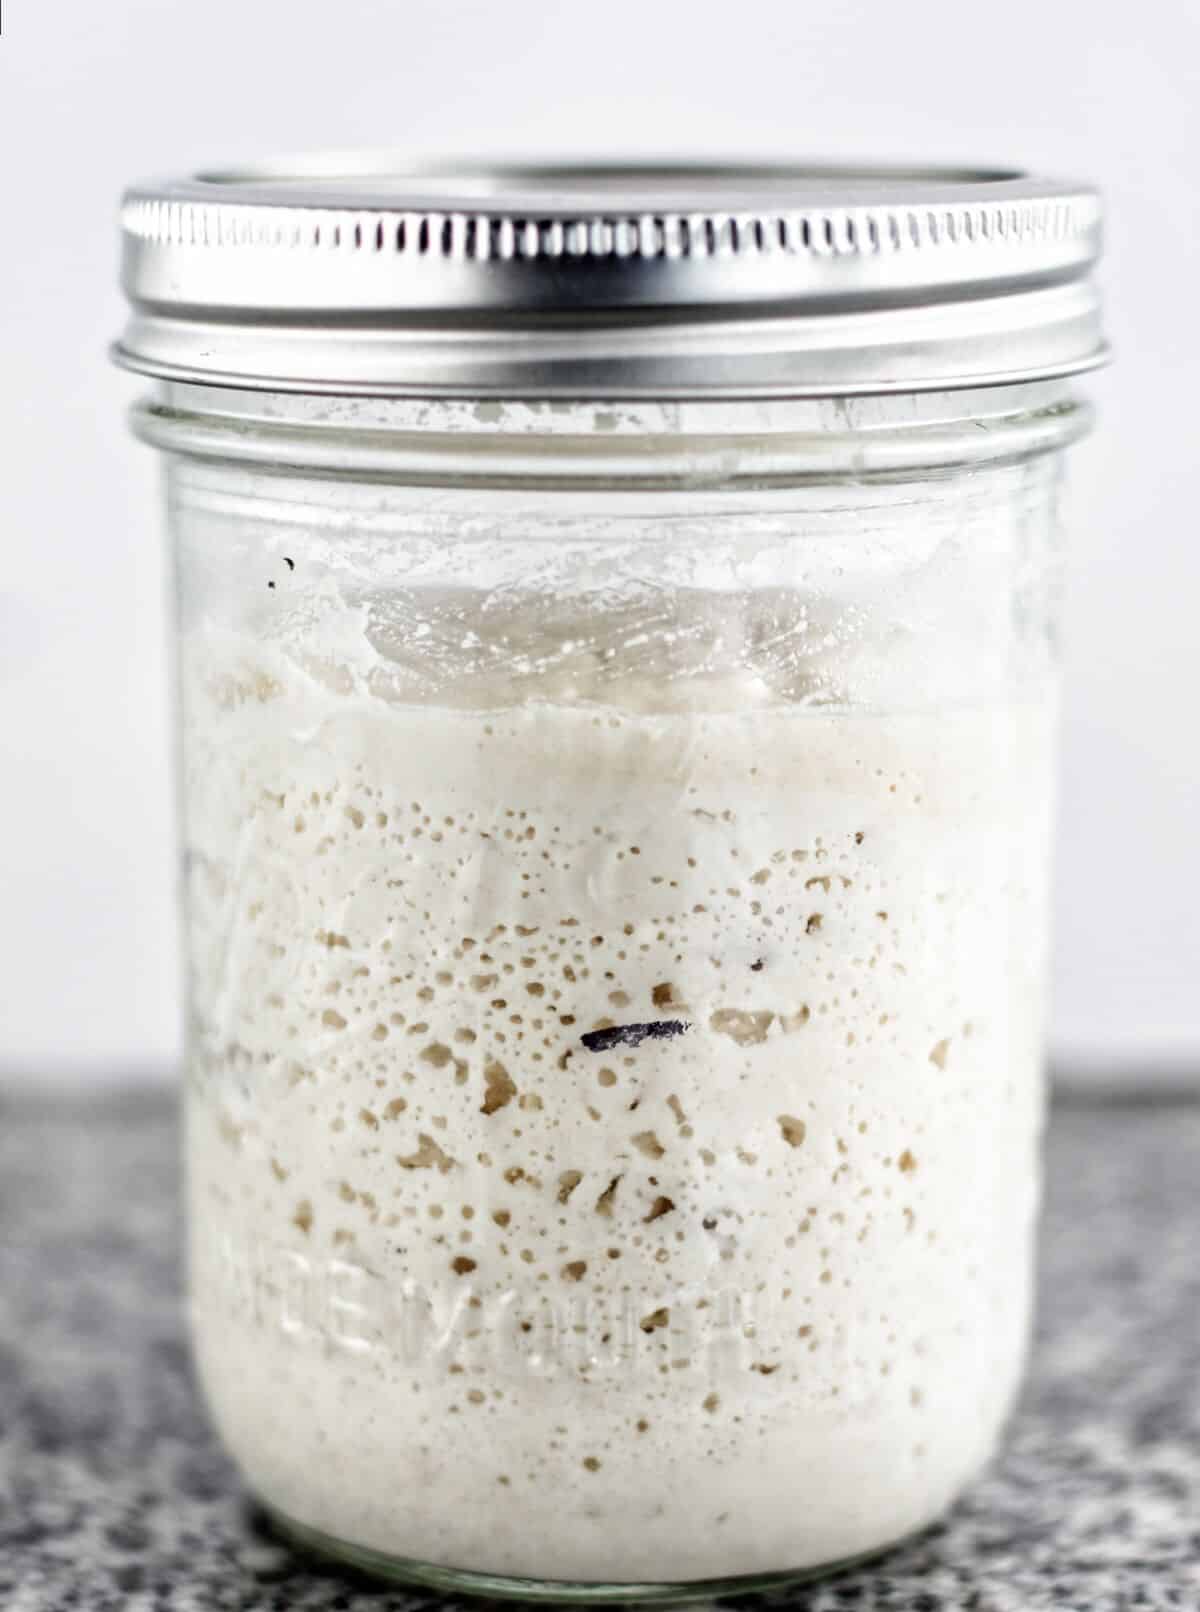
Image Source: Let Them Eat Gluten Free Cake
Ready to bake amazing gluten-free sourdough? Our easy, step-by-step guide will show you exactly how to make a bubbly and active GF sourdough starter at home. As someone who's worked with countless starters, I can tell you that creating a gluten-free sourdough starter recipe easy enough for beginners yet reliable for seasoned bakers is absolutely possible with my chef-tested method.
The Magic of Gluten-Free Sourdough
Traditional sourdough has been made for millennia, but gluten-free versions open up this ancient baking technique to everyone. As a chef at Tasty Trends Recipes, I've perfected a starter that thrives on gluten-free flours while developing that characteristic tang we all love. Unlike wheat starters, GF versions require special attention to flour blends and feeding schedules to build the right microbial balance.
Why This Recipe Works
- Simple ingredients - Only two components needed
- Foolproof timeline - Clear day-by-day instructions
- Flexible flour options - Works with various GF blends
- Chef-developed - Professional techniques for home bakers
CHEF'S NOTE:
A healthy gluten-free sourdough starter behaves differently than wheat-based ones. Don't expect the same towering rise - instead look for bubbles throughout and a pleasant tangy aroma. This is normal for GF starters!
Ingredients
You'll need just a few simple ingredients to create your gluten-free sourdough starter:
- 1 cup (120g) brown rice flour - The base for our starter (can substitute buckwheat or sorghum flour)
- 1 cup (120g) tapioca starch - Adds structure (arrowroot or potato starch also work)
- Filtered water - Chlorine-free is best (let tap water sit for 24 hours if needed)
- 1 tsp honey - Optional boost for initial fermentation (skip for vegan version)
Step-by-Step Instructions
Day 1: The Beginning
- In a clean glass jar or container (at least 2-cup capacity), mix 1/4 cup brown rice flour with 1/4 cup tapioca starch.
- Add 1/4 cup filtered water and 1 tsp honey if using. Stir vigorously until smooth.
- Cover loosely with a breathable lid (cheesecloth or a coffee filter works) and secure with a rubber band.
- Place in a warm spot (70-75°F is ideal) away from direct sunlight.
CHEF'S SECRET:
The ratio of your flour blend directly affects your starter's activity. I've found the 1:1 brown rice to tapiosa ratio creates the perfect environment for gluten-free yeast and bacteria to thrive.
Days 2-7: Feeding & Growth
- Each morning: Discard half of your starter (about 1/4 cup).
- Feed with 1/4 cup flour blend (equal parts brown rice and tapioca) and 1/4 cup filtered water.
- Stir well, cover, and return to its warm spot.
- Observe changes - bubbles should appear by Day 3-4, with a fruity aroma developing.
Expert Tips & Variations
Master Chef Techniques
- Temperature Control: If your kitchen is cool (below 68°F), place the jar on a heating mat set to low or in the oven with just the light on.
- Hydration Matters: The starter should have a thick pancake batter consistency. Adjust water slightly if needed.
- Scent Test: A healthy gluten-free sourdough starter smells fruity and slightly sour, never foul.
Recipe Variations
- Buckwheat Variation: Replace brown rice flour with buckwheat for a more robust flavor
- Teff Starter: Use teff flour for a nutrition-packed version with earthy notes
- Fruit-Infused: Add a few raisins or grapes in the first two days to boost wild yeast
Troubleshooting Common Issues
PROBLEM: No bubbles after Day 5
Solution: Try moving to a warmer location, or switch to bottled spring water if your tap water is heavily treated.
PROBLEM: Starter smells unpleasant
Solution: If it smells like acetone or rotting, discard and start fresh with new flour. If slightly vinegary, continue feeding - it may just need more time.
Maintaining Your Starter
Once established, your gluten-free sourdough starter can live indefinitely with proper care:
- Room Temperature: Feed daily if keeping out (great for frequent bakers)
- Refrigerated: Feed weekly (ideal for occasional use - bring to room temp before baking)
- Dried Storage: Spread thin on parchment, dry completely, then store in airtight container
Frequently Asked Questions
Q: How do I know when my gluten-free sourdough starter is ready to use?
A: At Tasty Trends Recipes, we recommend the float test - drop a spoonful in water; if it floats, it's ready. Also look for bubbles throughout and consistent doubling after feeding.
Q: Can I use all-purpose gluten-free flour instead of mixing my own?
A: While possible, commercial GF blends often contain gums and starches that may affect fermentation. For best results, mix your own as directed.
Q: Why is my gluten-free starter not as bubbly as wheat starters?
A: GF starters typically show activity differently - look for bubbles throughout rather than dramatic rise. The absence of gluten means less gas retention.
Ready to Start Your Sourdough Journey?
Now that you have this easy gluten-free sourdough starter recipe, you're just days away from baking incredible bread, pancakes, and more. Remember - patience is key with sourdough, especially gluten-free versions. I'd love to hear about your sourdough adventures in the comments below, and don't forget to share your starter's progress with us at Tasty Trends Recipes!
Happy Baking!